
Project Creation & Management
SoundMint projects serve as workspaces for artists to manage their creations and collaborate with other independent musicians on the platform. This guide shows you how to create and manage your projects effectively.
Step 1: Access Projects
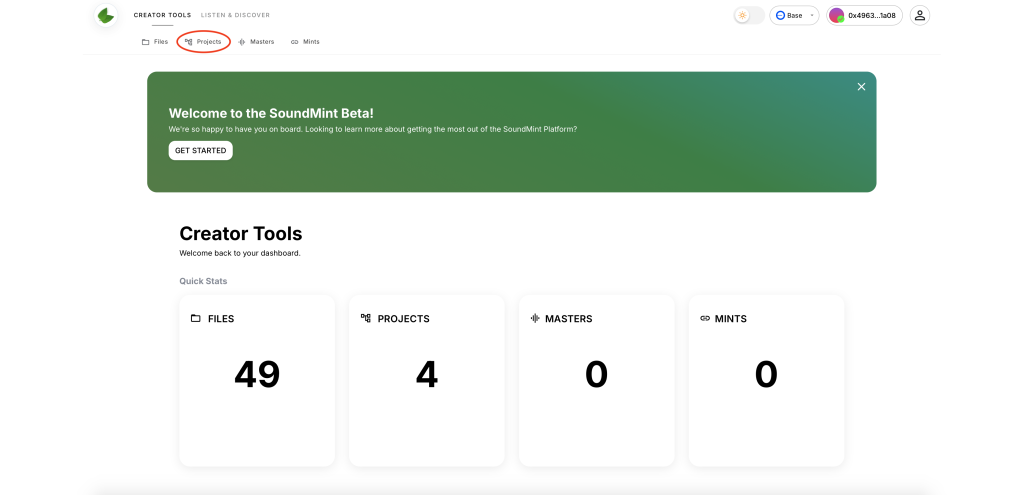
Navigate to Creator Tools and select the PROJECTS option from the menu.
Step 2: Create New Project
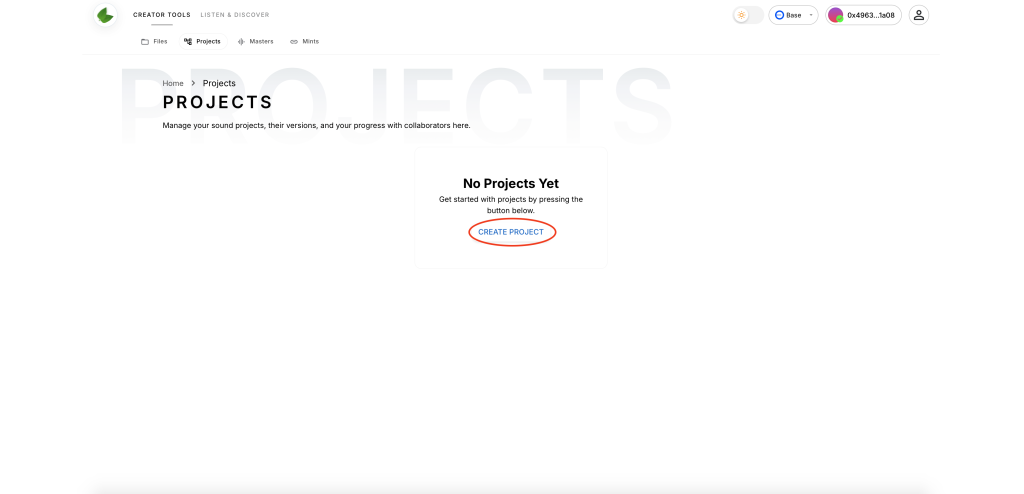
Once in Projects, click the CREATE PROJECT button to begin setting up your new project.
Step 3: Enter Project Details
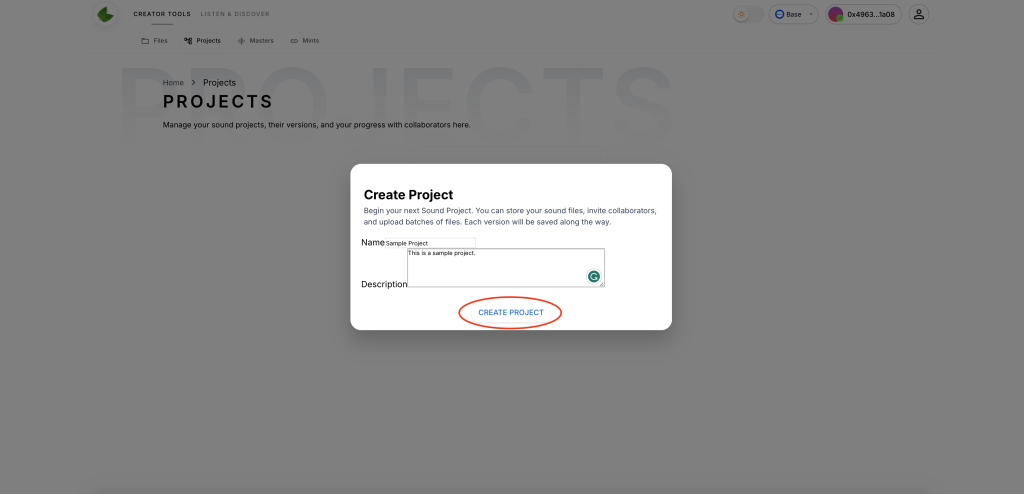
Input a project name and description. Both fields remain editable after creation, so don't worry about getting everything perfect right away.
Click CREATE PROJECT to confirm and create your project.
Step 4: Manage Your Project
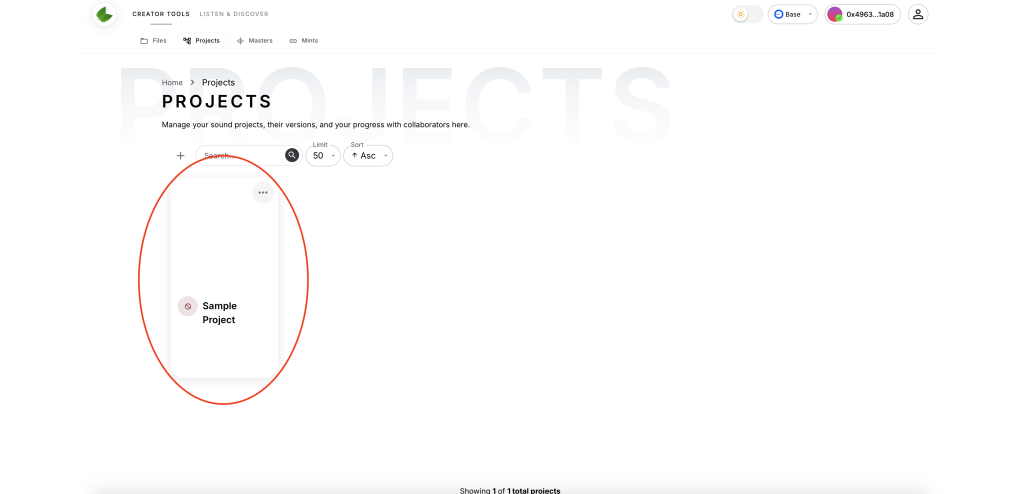
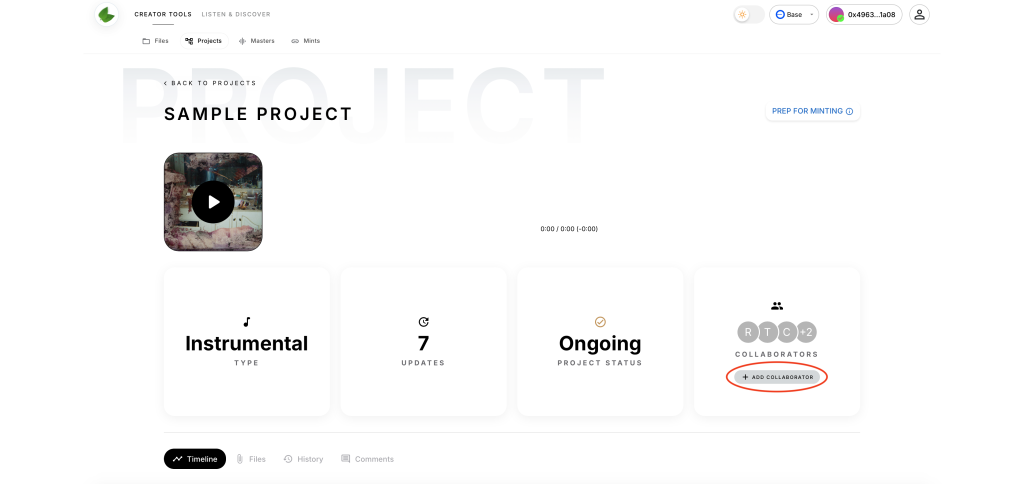
Click your new project to access the management dashboard. From here you can:
- Update project details
- Add cover artwork
- Manage collaborators
- Upload audio files
Step 5: Add Collaborators
Use the ADD COLLABORATORS button to invite other members for viewing and editing permissions. You can invite:
- Existing SoundMint users by username
- New users via email invitation
Step 6: Upload Audio Files
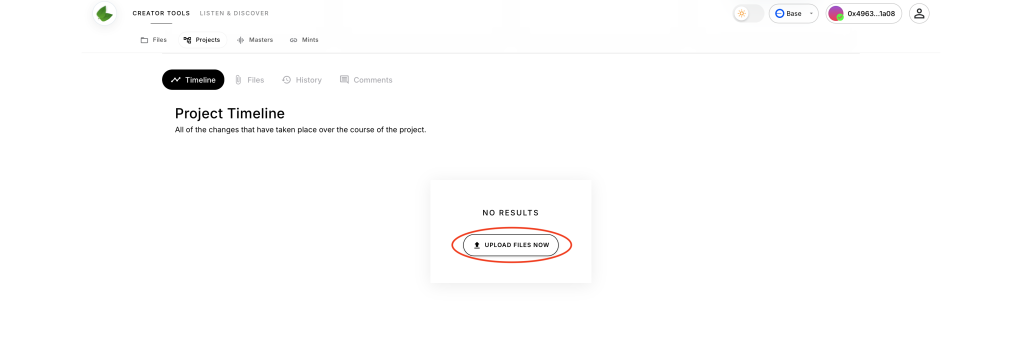
Scroll to the PROJECT TIMELINE section to manage uploads, view history, and add collaborator comments.
Click UPLOAD FILES NOW to add audio from your computer directly to the project.
Ready to collaborate? Learn more about inviting collaborators to your projects.